Ninja Turtle Room Makeover

I have been so looking forward to Hosea’s room makeover. Jonathan & I have been thinking about it for a couple of weeks and planning things for it. We decided to make it over while he was at PreK. I was giddy with excitement! Come and see what we did!

My dear friend Tiffany sent me the quote below before Hosea was born. So, it’s been on his wall for over 5 years. I’ve loved it and its truth. For those of you that need to take off vinyl glue, heating it up didn’t work, trying to scrape it with an x-acto knife didn’t work, water didn’t work, baby oil didn’t work (yes, I’m serious, we tried that and ruined the wall). What worked? Just simple sanding. We sanded and then repainted the wall. Not exactly what we had planned.

Anyways, let’s go through the changes.
When you come to his room, I have the Ninja Turtle Wreath hanging on the door. I just love this silly wreath.


His Nana & Papa bought the bedding and let us have it early for his new room.


Here’s my favorite element in the room!!! These giant engineer print Lego Ninja Turtles. I got the idea from here. I had pinned it forever ago and randomly thought of it last week. I forgot she used Lego’s so originally, I was going to photograph his actual ninja turtles but then I thought about how much he LOVES Lego’s right now so I thought it best to incorporate his two loves into one. Gosh, I love how these turned out.

Okay, here’s what I did different from her instructions. I did get them copied at Staples for $3 a piece for a 2’x4′ size engineer print. So great, right? We shopped around at Lowes & Home Depot for thin MDF. Lowes didn’t have what we were looking for but Home Depot did. The sheet she mentioned was $4 but it’s $5.50 at my store. We held off from using it because of how heavy it was. I was afraid it wouldn’t stay on the wall and then fall and hit my kiddo in the head so we didn’t do that.
We saw a small piece of foam board in another section and wondered if Office Depot sold bigger pieces. So, we headed there next and found sheets that were 30″x40″. Perfect. I used spray adhesive to glue them onto the board. I let them dry for several hours and then I had to cut off some of the excess. Here’s a tip when cutting. Go slow and instead of dragging your utility knife, kind of jab it up and down. Worked perfectly! We used Command strips to hang them on the wall.
Another thing, even though it was perfectly smooth when I glued them down, it bubbles now. I think it has to do with the foam. At least, that’s my guess. The bubbles come out with smoothing but come back again. I’m not too concerned since they’re just in my son’s room. Not sure what I’d do differently if I were making something for my living room.

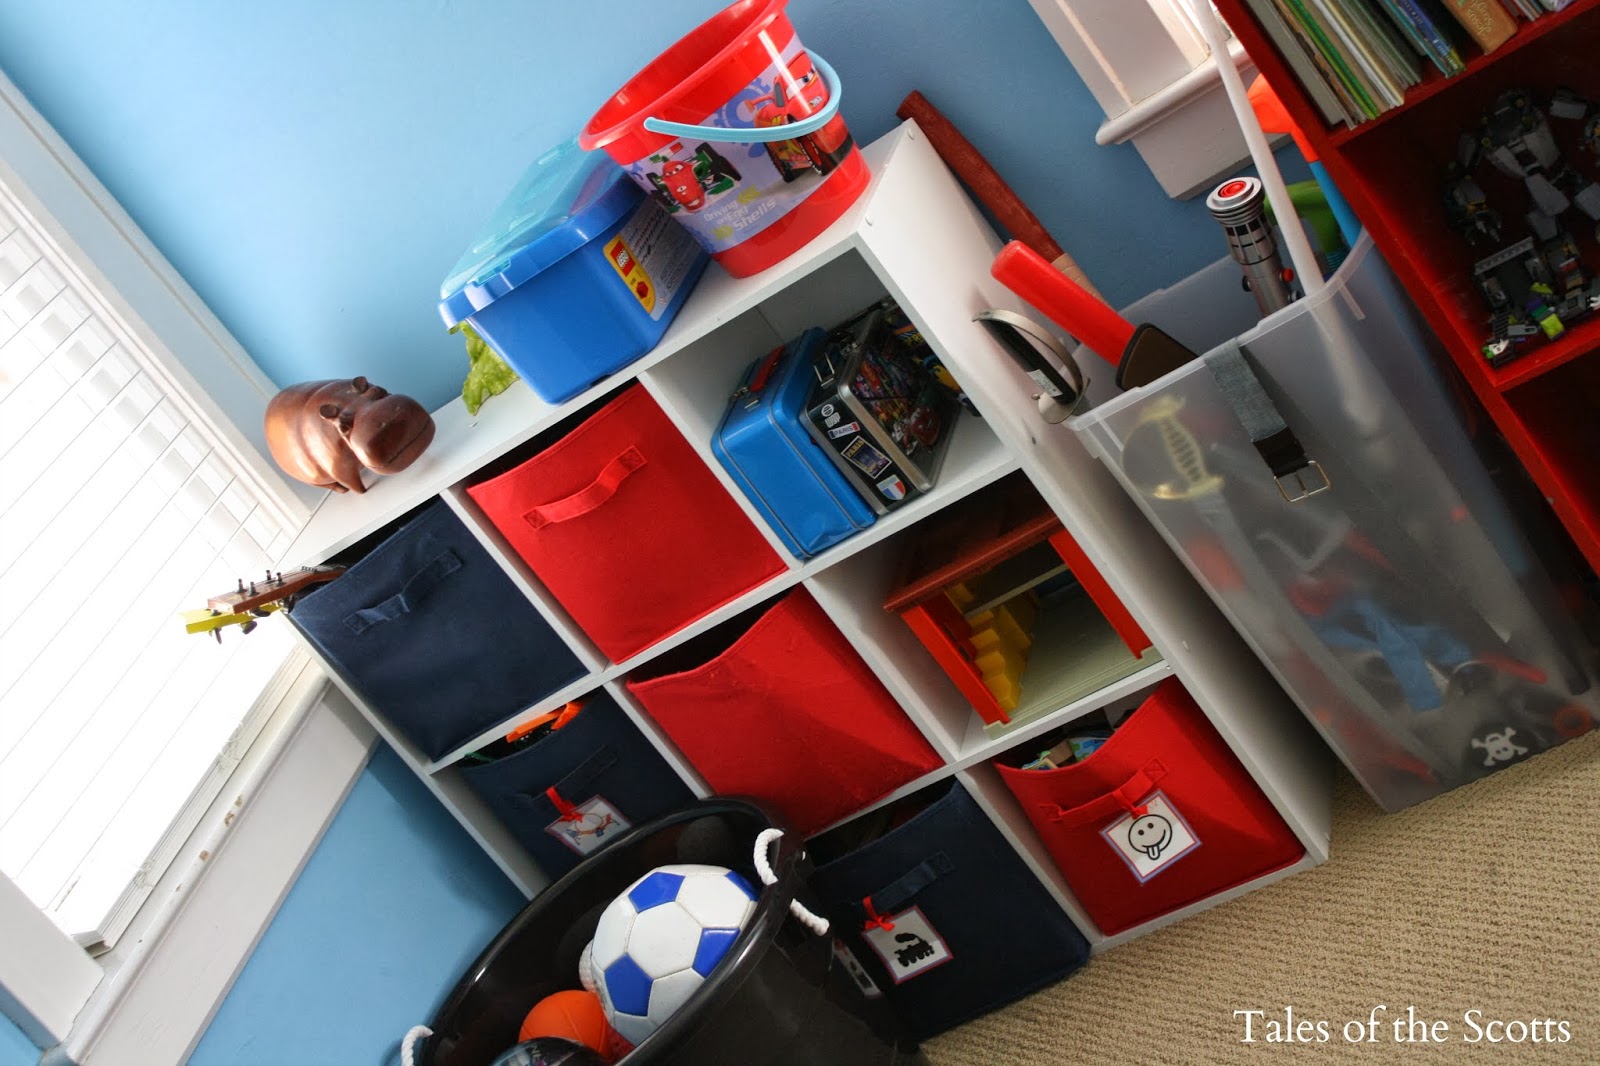
The rest of the room.

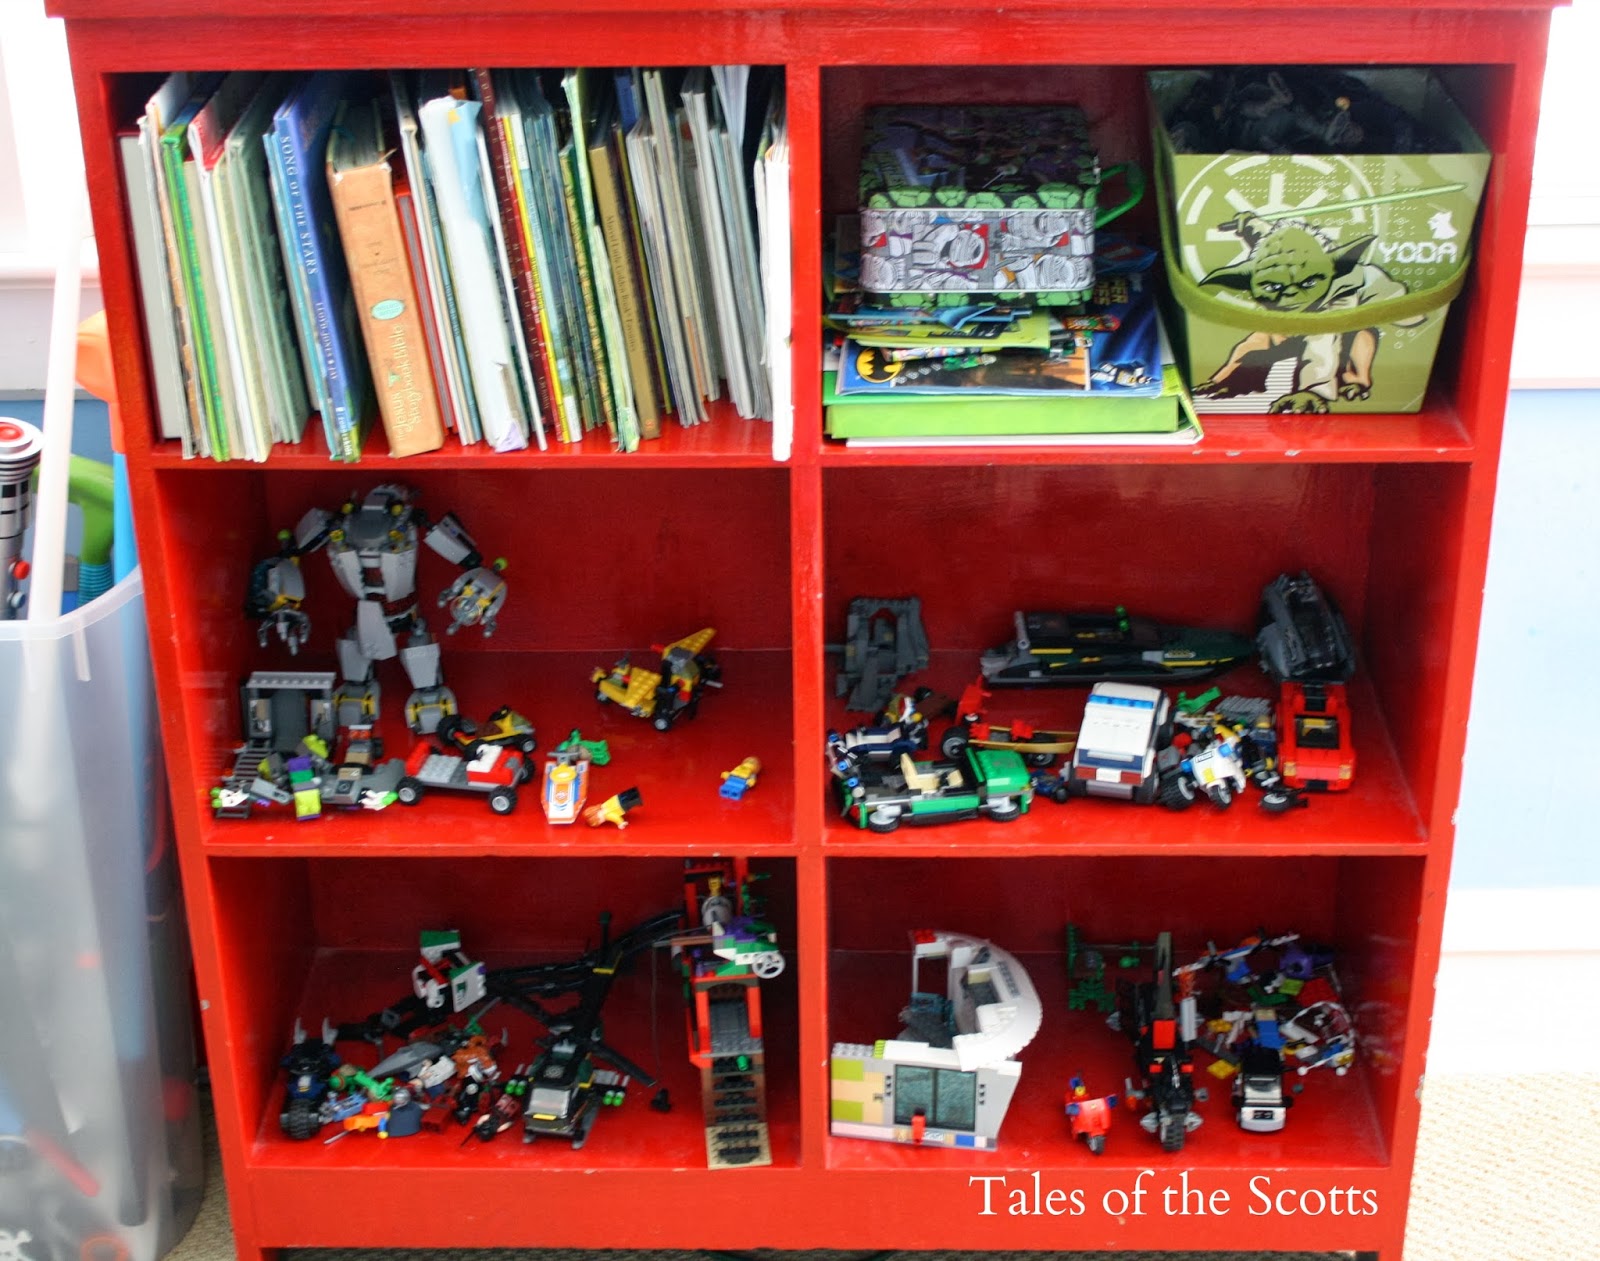
The growing Lego collection.

New birthday gifts, not including two giant Lego sets in the living room.

I initially forgot about these lanterns I bought for the room. Found them last minute. Put some crepe paper around them to personalize and hung up with some twine.

That’s it! He LOVED it!! I went into the room before him so I could record his reaction. Let’s just say, he thought everything was AWESOME!
Thanks for stopping by!!


